You must understand the critical role of grounding when you install a flammable liquids cabinet. This process helps in preventing static electricity buildup, which can spark and cause fire risks associated with chemicals. Regulatory agencies like OSHA and NFPA recommend grounding to reduce these dangers and support workplace safety. By following best practices, you protect yourself and others, creating safer working conditions. Flammable cabinets require careful handling to stop fire hazards. Always remember to use the How to Properly Ground Flammable Cabinets: Step-by-Step Installation Guide to ensure compliance and safety.
Materials, Tools, and Regulatory Standards for Grounding Flammable Liquids Cabinets
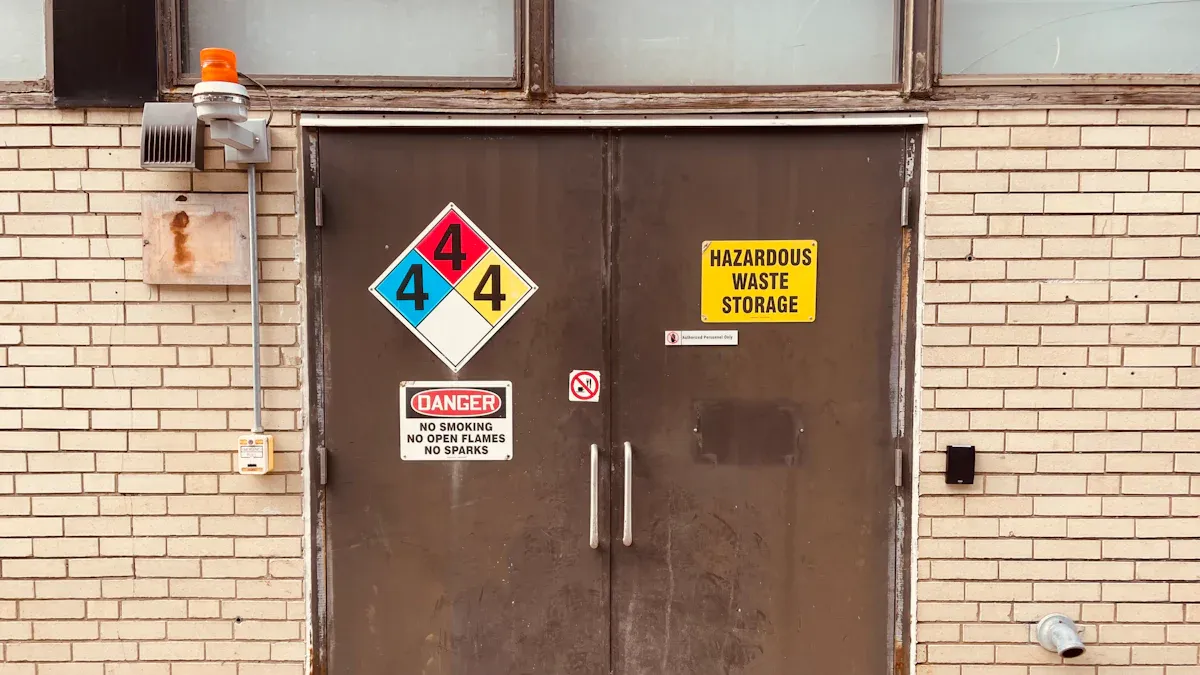
Required Materials for Grounding
You need the right materials to ground a safety cabinet and reduce the risk of static electricity. Follow these steps to gather what you need:
- Check the cabinet’s grounding connection. Make sure your flammable liquids cabinet has a clear grounding point.
- Use proper grounding equipment. You should have grounding wires, clamps, and bonding straps to make a secure connection.
- Choose a grounding cable with the right size and length. The cable must reach the nearest grounding point without stretching.
- Create a direct connection between the cabinet and the ground. This step helps lower resistance and keeps your safety cabinet effective.
Tip: Always inspect your materials before starting. Damaged wires or loose clamps can increase the risk of fire.
Necessary Tools for Installation
You will need some basic tools to install and ground your safety cabinet. These tools help you work safely and follow standards:
- Screwdrivers for attaching clamps and wires
- Wire strippers to prepare the ends of the grounding cable
- Wrenches for tightening bolts and connections
- Multimeter to test the electrical connection and confirm proper grounding
A good risk assessment before installation helps you choose the right tools and avoid mistakes.
Applicable Regulatory Standards
You must follow local regulations and standards when installing a flammable safety cabinet. These rules protect you and your workplace from fire hazards. The main agencies and their regulations include:
| Agency | Regulation | Description |
|---|---|---|
| OSHA | 1910.106 | Governs safe storage of flammable and combustible liquids, specifying maximum allowable quantities and construction standards for cabinets. |
| NFPA | 30 | Provides guidelines on fire protection and storage practices, focusing on minimizing fire spread and ensuring compatibility of storage containers. |
Both OSHA and NFPA recommend grounding to control static electricity and improve safety. You should also complete a risk assessment and review all standards before starting your project.
Site Selection and Placement for Flammable Liquids Cabinet Installation
Choosing a Compliant and Safe Location
You must select a location that keeps your workplace safe and meets regulations. Place the flammable liquids cabinet at least 3 meters away from ignition sources like electrical equipment or areas where hot work happens. Keep the cabinet clear of incompatible substances such as compressed gases and oxidizers. Make sure you do not block emergency exits. Maintain a distance of at least 10 meters from other large quantities of flammable liquids. Position the cabinet so you can reach safety showers and first aid kits within 10 seconds. Always check that the cabinet is near a Register of Hazardous Chemicals.
Tip: A post-installation check helps confirm that you have chosen the safest spot for your cabinet.
Leveling the Cabinet for Stability
You need to make sure the cabinet sits level on the floor. Uneven surfaces can cause the cabinet to tip or shift, which increases the risk of spills. Use a spirit level to check the cabinet’s position. Adjust the feet or base until the cabinet stands firm. Stable placement prevents accidents and keeps your flammable liquids secure.
Note: After leveling, perform a post-installation check to verify stability and safety.
Segregating from Incompatible Materials
You must keep flammable liquids away from substances that can cause dangerous reactions. Identify all chemicals in your workplace using Safety Data Sheets. Determine which chemicals need segregation. Store only flammable liquids in the cabinet. Do not place oxidizers next to flammable solvents. Multi-compartment cabinets help you separate incompatible materials safely. Make sure authorized personnel can access the cabinet easily while maintaining safety.
Callout: A post-installation check ensures you have properly segregated all materials and reduced risk.
Grounding Preparation for Flammable Cabinets
Locating Cabinet Grounding Points
You must find the correct grounding points on your flammable liquids cabinet before you start. Most cabinets have a marked spot for attaching the grounding wire. Look for a small bolt or a labeled metal tab near the bottom or back of the cabinet. This spot gives you a direct path for electricity to flow safely to the ground. If you cannot find a marked point, check the cabinet manual or ask the manufacturer. Using the right spot lowers the risk of static buildup and makes grounding a flammable safety cabinet much safer.
Tip: Always double-check that the grounding point is free from paint, rust, or dirt. Clean metal makes the best connection.
Preparing Surfaces and Ground Wire
You need to prepare both the cabinet surface and the appropriate grounding wire. Start by cleaning the grounding point with a wire brush or sandpaper. Remove any paint or debris so the wire can touch bare metal. Next, measure the distance from the cabinet to the facility ground system. Cut the wire to the correct length. Strip the ends of the wire so you can attach clamps or connectors. Choose a plastic-coated wire with strong clamps for extra safety. This step helps you avoid loose connections and keeps your cabinet grounded during use.
Note: A secure connection reduces the risk of sparks and keeps your workplace safe.
Identifying Facility Ground System
You must connect your cabinet to a proper earth ground. To do this, follow these steps:
- Locate a safe earth ground, such as a building ground rod or a labeled grounding bus bar.
- Avoid using fire sprinkler lines or water pipes as ground points.
- Use only approved bonding and grounding cables with clamps.
- Label the earth ground clearly so everyone knows its purpose.
- Disconnect all cables after transferring flammable liquids.
Class 1 flammable liquids require bonding and grounding during transfer. You should always choose a well-ventilated area away from heat sources for your cabinet. Following these steps ensures you meet regulations and lower the risk of fire.
How to Properly Ground Flammable Cabinets: Step-by-Step Installation Guide

Attaching the Grounding Wire to the Cabinet
You need to follow clear steps when you attach the grounding wire. This process helps you prevent static electricity and keeps your flammable liquids cabinet safe. Here is how to properly ground flammable cabinets: step-by-step installation guide:
- Find the grounding point on your cabinet. Look for a symbol or label that marks the spot.
- Gather your grounding cable, clamps, and any other needed accessories.
- Clean the grounding point. Remove any paint or rust so you have bare metal.
- Attach one end of the grounding cable to the cabinet’s grounding point. Use a clamp or connector to make a tight connection.
- Make sure the connection is secure. Tug gently on the cable to check.
Tip: Always use a clamp with sharp points. This helps the clamp break through any coating and touch the metal.
Connecting the Ground Wire to the Earth Ground
You must connect the other end of the wire to a reliable earth ground. This step is important for safety and for stopping sparks near flammable materials. Here is how to properly ground flammable cabinets: step-by-step installation guide for this part:
- Find a ground bus or ground rod in your facility. Do not use water pipes or sprinkler lines.
- Use a 5/16″ (8 mm) wrench to loosen the ground screw on the earth ground.
- Attach the ground wire to the ground bus or rod. Tighten the screw so the wire stays in place.
- Make sure you have a direct metal-to-metal connection. This is very important when you work with flammable solvents.
- Always apply the grounding clamp before you start any work with flammable liquids.
Note: Keep the grounding connection in place during all filling and emptying tasks. This helps you avoid static buildup.
Securing and Testing All Grounding Connections
You must check every connection to make sure your cabinet is safe. Testing is a key part of how to properly ground flammable cabinets: step-by-step installation guide. Here is what you should do:
- Inspect all clamps and wires. Make sure they are tight and not damaged.
- Use a multimeter to test the connection. Set the tool to measure resistance.
- Touch one probe to the cabinet and the other to the earth ground. You should see low resistance. This means you have a good connection.
- If you see high resistance, check for paint or rust. Clean the area and test again.
- Inspect the grounding rod. Make sure it meets depth and material rules for your facility.
Callout: Good testing helps you find problems before they become safety risks. Always test after you finish the installation.
You now know how to properly ground flammable cabinets: step-by-step installation guide. This process protects your workplace from fire and keeps everyone safe.
Maintenance and Routine Checks for Grounding
Inspecting Grounding Connections Regularly
You need to check your grounding connections often. Look at the wires and clamps on your flammable storage area. Make sure nothing is loose or damaged. If you see rust or dirt, clean it right away. You should also look for signs of wear on the cables. If you find any problems, fix them before you use the cabinet again.
Tip: Set a reminder to inspect your connections every month. This habit helps you catch small issues before they become big risks.
Scheduling Safety Audits and Inspections
You should plan regular safety audits for your flammable storage complicity. Write down the dates for these checks on a calendar. During each audit, walk around the area and look at all the grounding points. Ask a coworker to help you. Two sets of eyes can spot more problems. Use a checklist to make sure you do not miss anything.
- Check all wires and clamps
- Test the resistance with a meter
- Review the area for spills or leaks
- Confirm that the cabinet is still in a safe spot
Callout: Regular audits keep your workplace safe and help you follow the rules.
Documenting Compliance and Maintenance
You must keep records of all your inspections and repairs. Write down what you checked and what you fixed. Save these records in a folder or on your computer. If someone asks about your flammable storage, you can show your notes. Good records prove that you care about safety and follow the rules.
Note: Keeping good records helps you pass inspections and keeps everyone safe.
You can keep your workplace safe by following the right steps for flammable cabinet installation. Always check the grounding connection before you store flammable liquids. Use the correct grounding wires and clamps for each flammable storage area. Pick a grounding cable that fits well and reaches the ground point. Make a direct connection to lower the risk of sparks. Test the connection to confirm it works. Regular checks and good habits help you meet safety rules and protect everyone.
FAQ
What happens if you do not ground a flammable liquids cabinet?
You risk static electricity buildup. Sparks can ignite flammable vapors. Fires may start quickly. Grounding protects you and your workplace.
How often should you check grounding connections?
You should inspect grounding connections every month.
- Look for loose wires
- Clean rust or dirt
- Fix problems before using the cabinet
Can you use water pipes as a ground point?
No, you should never use water pipes.
| Safe Ground | Unsafe Ground |
|---|---|
| Ground rod | Water pipe |
| Bus bar | Sprinkler |
Do you need special tools to test grounding?
You need a multimeter to test resistance.
Tip: Use a multimeter to check for low resistance. This shows a good connection.