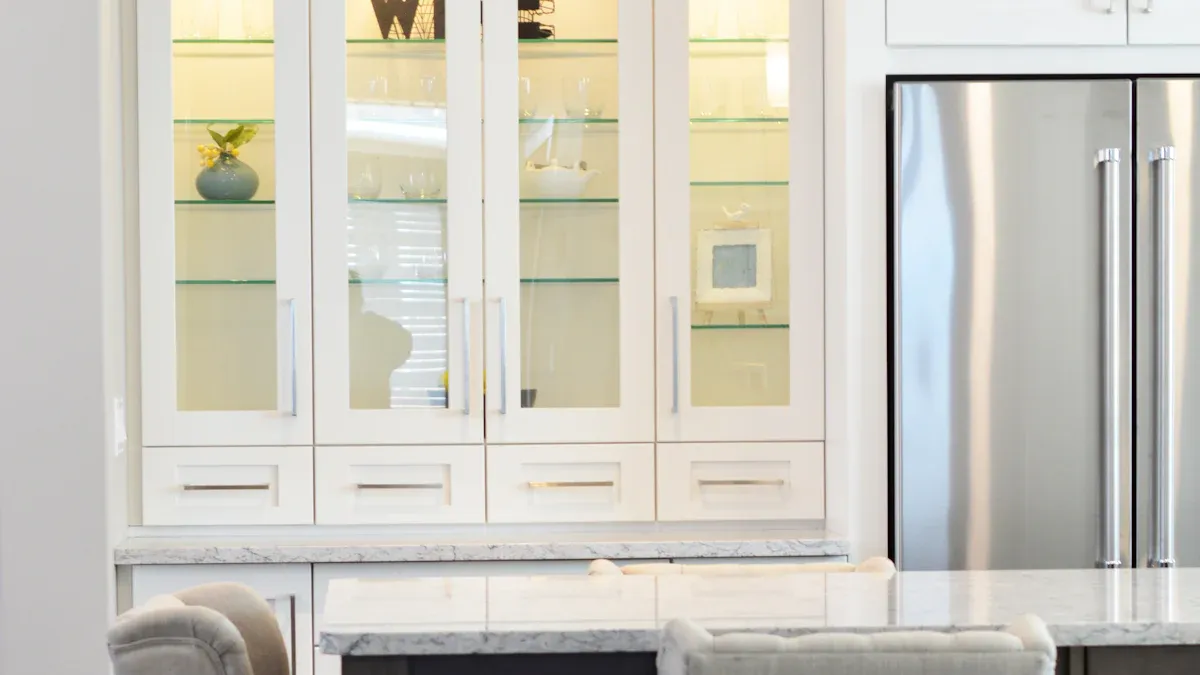
You can achieve a professional cabinet finish at home when you follow a clear plan. Many homeowners make mistakes, such as keeping the doors in place, skipping prep work, or using cheap paint. Avoiding these errors will help you get better results.
- Keeping the doors in place
- Skipping the prep work
- Using poor quality tools
- Painting too fast
When you choose to paint cabinets yourself, you spend much less money. For example:
| Method | Estimated Cost |
|---|---|
| DIY Cabinet Painting | $100 – $215 |
| Professional Services | $1,200 – $3,000 |
This Step-by-Step Tutorial: How to Paint a Cabinet for a Professional Finish shows you how to get smooth, lasting results.
Step-by-Step Tutorial: How to Paint a Cabinet for a Professional Finish
Painting your cabinets can transform your kitchen or bathroom. You can get a smooth, professional look by following a clear process. This step-by-step tutorial: How to Paint a Cabinet for a Professional Finish will guide you through each important stage.
Gather All Necessary Supplies and Tools
Before you start, you need to collect all the right supplies. Using the correct tools helps you work faster and get better results. Professional painters recommend the following items:
- Epoxy and adhesives for repairs
- Seam and joint tape
- Buckets and pails for mixing
- Mixing cups
- Painting kits
- Lids, trays, liners, and grids
- Painter’s tape
- Brushes for detail work
- Roller covers for smooth surfaces
- Minirollers and trimmers for tight spaces
- Roller frames
- Extension poles for hard-to-reach areas
- Drywall tools and accessories
- Caulking tools
- Electric sanders and hand sanding tools
- Scrapers for removing old paint
- Spraying systems if you want a factory-like finish
Tip: Gather all your supplies before you begin. This will help you avoid delays and keep your project organized.
Prepare the Workspace and Protect Surrounding Areas
A clean and safe workspace is important for a successful project. You want to protect your floors, countertops, and appliances from paint splatters and dust. You also need to keep yourself safe while you work.
| Safety Precaution | Description |
|---|---|
| Personal Protective Equipment | Use a respirator, goggles, and gloves to protect against inhaling fumes and splashes. |
| Ladder Safety | Ensure the ladder is stable, on a flat surface, and use a spotter when painting at heights. |
| Safe Storage and Clean Up | Store materials securely, away from heat sources, and ensure paint rags are disposed of properly. |
| Drying Time | Allow adequate drying time for paint and ensure the area is well-ventilated and unoccupied. |
You should also:
- Cover exposed electrical outlets with painter’s tape.
- Turn off power when removing outlet covers.
- Use low-VOC paint products to minimize fumes.
- Wear protective gloves and clothing during painting.
If your home was built before 1978, test for lead paint. Avoid scraping or using heat to strip lead-based paint. Instead, spray the surface with water and gently scrape off loose paint.
Note: Good ventilation is important. Open windows and use fans to keep fresh air moving through the room.
Remove Cabinet Hardware and Doors
Taking off the cabinet doors and hardware makes painting easier and helps you get a smooth finish. Follow these steps to remove them safely:
- Gather all essential tools and equipment, including screwdrivers and drills.
- Wear safety equipment such as gloves and goggles to protect against injury.
- Carefully disconnect any electrical or plumbing connections before removal.
- Use appropriate techniques to avoid applying excessive force, which can damage the cabinets.
- Take breaks to reassess your work and ensure safety throughout the process.
Place all screws, handles, and hinges in labeled bags or containers. This will help you put everything back in the right place later.
This step-by-step tutorial: How to Paint a Cabinet for a Professional Finish helps you avoid common mistakes and prepares you for a smooth painting process.
Clean and Degrease Cabinet Surfaces
Cleaning and degreasing your cabinets is a key part of getting a smooth, professional finish. Grease, dust, and old residue can stop paint from sticking well. You want to start with a surface that is as clean as possible. This step in the Step-by-Step Tutorial: How to Paint a Cabinet for a Professional Finish helps you avoid peeling and uneven paint.
Choose Effective Cleaners for Cabinets
You need to pick a cleaner that can cut through grease and remove sticky residue. Kitchen cabinets often collect cooking oils and fingerprints. If you skip this step, your paint may not last.
Here are some top choices for cleaning cabinet surfaces:
- Dawn® Platinum dish soap works very well for breaking down grease and residue. Mix a small amount with warm water to create a cleaning solution.
- Use a soft sponge or microfiber cloth to scrub the surfaces gently. This helps lift dirt without scratching the wood or laminate.
- For tough spots, let the soapy water sit for a few minutes before wiping.
Tip: Always test your cleaner on a small, hidden area first to make sure it does not damage the finish.
Rinse and Dry Thoroughly
After you clean the cabinets, you need to rinse away any soap or cleaner. Leftover cleaner can stop the paint from sticking.
Follow these best practices for rinsing and drying:
- Rinse all surfaces with clean water. Use a fresh cloth to wipe away any soap.
- Let the cabinets dry completely. You can leave the doors off for 24 hours to make sure all moisture is gone.
- Check for any damp spots before you move to the next step. Moisture can cause paint to bubble or peel.
Note: A dry, clean surface helps primer and paint stick better and last longer.
Taking time to clean and dry your cabinets will help you get the best results in your painting project.
Sand and Repair Cabinet Imperfections
Cabinet surfaces often have scratches, dents, or old paint that can ruin your final result. You need to sand and repair these imperfections before you move on to painting. This part of the Step-by-Step Tutorial: How to Paint a Cabinet for a Professional Finish helps you create a smooth base for your new finish.
Proper Sanding Techniques for Cabinets
Sanding is important for removing old finishes and smoothing out rough spots. You should use the right grit sandpaper for each stage of the process. Here is a simple guide:
- Start with coarse grit sandpaper (80 to 120) to take off old paint or finish.
- Move to finer grits (220 to 320) to smooth the surface before you paint.
- Use very fine grits between layers of primer and paint for a polished look.
Always sand in the direction of the wood grain. This helps you avoid scratches that show through the paint. Wipe away dust with a damp cloth after sanding each section.
Tip: Use an electric sander for large, flat areas. Hand sanding works best for corners and detailed trim.
Fill Holes and Cracks
Small holes and cracks can make your cabinets look old and worn. You need to fill these spots before you paint. Choose a filler that matches your cabinet material and finish. The table below shows some popular options:
| Product Name | Type | Description |
|---|---|---|
| DAP Plastic Wood Filler | Latex-based | Matches many wood finishes, good for furniture and cabinets. |
| West System Epoxy | Epoxy | Strong adhesive, works for structural repairs and gaps. |
| Elmer’s Carpenter’s Wood Filler | Wood filler | Reliable for general repairs, can mix with spackling paste. |
| Crawford’s Vinyl Spackling Paste | Spackling | Mix with wood filler for a smooth texture and finish. |
Brian Pontolilo explains that fillers, putties, and epoxies have different uses. Jason Eidsness suggests mixing Elmer’s Carpenter’s Wood Filler with Crawford’s Vinyl Spackling Paste for the best results. Apply the filler with a putty knife, press it into the hole, and smooth the surface. Let it dry completely before sanding again.
Note: Filling and sanding every imperfection helps your paint look smooth and professional.
Apply Primer for Better Paint Adhesion
Priming your cabinets is a key step for a smooth and lasting finish. You want your paint to stick well and look even. Skipping primer can lead to peeling, stains, or uneven color. Many experts agree that you should always use a primer, even if your paint says it is not needed. Primer seals the cabinet surface and helps the paint bond better.
Select the Right Primer for Cabinets
Choosing the right primer depends on your cabinet material. You can use the table below to match your cabinets with the best primer type:
| Cabinet Material | Recommended Primer Type | Notes |
|---|---|---|
| Bare Wood | Any primer | Works well on bare wood and MDF |
| MDF | Any primer | Suitable for manufactured composites |
| Laminate | High bonding primer | Designed for nonstick surfaces like formica |
| Oil-based primer | Fills wood grain best | |
| Water-based primer | Works well with multiple coats | |
| Shellac-based primer | Good for distressed finishes | |
| Hybrid acrylic urethane | Combines oil and water-based benefits |
You should pick a high bonding primer for laminate cabinets. For wood or MDF, most primers will work. Oil-based primers fill wood grain well, while water-based primers are easy to clean up. Shellac-based primers help with tough stains or old finishes.
Primer Application Tips
You want your primer layer to look smooth and even. Follow these tips for the best results:
- Mix the primer well before you start.
- Use a foam brush for corners and inner edges.
- Roll primer onto large, flat surfaces with a foam roller.
- Start with the edges and corners, then cover the front and sides.
- Let the primer become tacky for about 30 minutes before painting.
Priming gives you many benefits:
- It helps the paint stick better.
- It stops stains from showing through.
- It creates a smooth base for your paint.
You can find more details about priming in the Step-by-Step Tutorial: How to Paint a Cabinet for a Professional Finish. Taking time with this step will help your cabinets look professional and last longer.
Sand Lightly After Priming
Achieve a Smooth Surface
You want your cabinets to look flawless and feel smooth to the touch. After you apply primer, sanding lightly helps you reach this goal. Use fine-grit sandpaper, such as 220 or 320 grit. Move your hand in the direction of the wood grain. This step removes small bumps and evens out the surface.
Sanding after priming gives you many benefits:
- You achieve a flawless finish.
- The paint sticks better to the surface.
- You create a smooth base for the next coat.
- Your cabinets become more durable.
- The final look appears professional.
- You avoid poor adhesion and visible imperfections.
You do not need to press hard. A gentle touch works best. If you sand too much, you might remove the primer. Check your work by running your hand over the surface. It should feel even and soft.
Remove All Dust
Dust can ruin your paint job. You need to remove every bit of dust before you start painting. There are several ways to do this well:
- Blow off dust with compressed air.
- Use a vacuum to pick up loose particles.
- Wipe the surface with a tack cloth for a final clean.
- Try a clean rag with a dusting spray like Endust for stubborn spots.
You can also use washable products such as EKASKY, EKASILK PLUS, or UNEESPONGES to clean after sanding. If your sanding tools get clogged, clean them with a soft bristle brush or a rubber cleaning bar. Wash sanding belts and cut them into smaller pieces for hand-sanding.
A dust-free surface helps your paint go on smoothly. The Step-by-Step Tutorial: How to Paint a Cabinet for a Professional Finish always includes this important step. Taking time to clean up now will give you better results later.
Apply the First Coat of Paint
Recommended Painting Techniques
You want your cabinets to look smooth and professional. The way you apply paint makes a big difference. Professional painters use several techniques to get the best results:
- Paint with the grain of the wood. This helps the finish look natural and hides brush marks.
- Keep a wet edge as you work. This means you blend each new stroke into the last before it dries. You avoid lap marks this way.
- Use long, steady strokes. A light touch helps you avoid brush and roller marks.
- Start with thin, even coats. Thick paint can drip and take longer to dry.
- Clean your cabinets well before you paint. Dirt and grease stop paint from sticking.
- Sand the surface with fine-grit sandpaper. This step helps the primer and paint stick better.
You can use a brush, roller, or sprayer. Brushes work well for corners and details. Rollers cover flat areas quickly. Sprayers give a factory-like finish if you have the right tools.
Tip: Always stir your paint before you start. This keeps the color and texture even.
Ensure Even Coverage
You want your first coat to cover the surface without streaks or missed spots. Follow these steps for even coverage:
- Sand and fill any holes or dents. Make sure the surface feels smooth and clean.
- Apply a high-quality bonding primer. This gives your paint a strong base and helps it last longer.
- Choose your application method. Brushes, rollers, and sprayers each have strengths. Pick the one that fits your project.
- Paint in sections. Work on one door or drawer at a time. This helps you focus and avoid mistakes.
- Check your work in good light. Look for thin spots or drips and fix them right away.
The Step-by-Step Tutorial: How to Paint a Cabinet for a Professional Finish guides you through each stage. Careful painting now means less work later and a finish you can be proud of.
Sand Between Coats for a Flawless Finish
Sanding between coats of paint helps you achieve a flawless cabinet finish. You remove small imperfections and create a smooth surface for each new layer. This step makes your cabinets look polished and professional. You also help the paint stick better, which means your finish lasts longer.
When and How to Sand Between Coats
You should sand after each coat of paint dries. Use fine-grit sandpaper, such as 220 or 320 grit. Move your hand gently with the grain of the wood. You do not need to press hard. Light sanding removes dust nibs, brush marks, and raised grain. You make the surface even and ready for the next coat.
Sanding between coats offers several advantages. You improve adhesion, eliminate imperfections, and get a smoother finish. You also remove any rough spots that can show through the final layer. Your cabinets become more durable and look polished.
Tip: Always wait until the paint is completely dry before you start sanding. If you sand too soon, you might damage the surface.
Clean Up Dust Before Next Coat
After sanding, you must clean up all dust. Dust can ruin your paint job and make the surface look rough. Follow these steps to remove dust before you apply the next coat:
- Vacuum all surfaces with a soft brush attachment.
- Wipe every surface with a clean, damp, lint-free cloth.
- Use a tack cloth to pick up any remaining microscopic dust particles just before painting.
You want the surface to feel smooth and look clean. The Step-by-Step Tutorial: How to Paint a Cabinet for a Professional Finish always includes this step. Careful cleaning helps your paint go on evenly and gives you a professional result.
Note: Take your time with cleaning. Even a small amount of dust can affect the final look.
Apply the Second Coat of Paint
Achieve Full, Even Coverage
You want your cabinets to look smooth and bright. The second coat of paint helps you reach full, even coverage. Most professionals recommend two to three coats of paint for cabinets. This method gives you a rich color and hides any spots from the first coat. You should let the first coat dry completely before you start the next one. Use a clean brush or roller for the second coat. Paint in the same direction as before. This keeps the finish looking even and neat.
You can follow these steps for the best results:
- Stir your paint well before you begin.
- Apply thin, even layers instead of thick ones.
- Check your work as you go. Look for streaks or missed spots.
- Let the paint dry fully before adding another coat.
Tip: Good lighting helps you see if you missed any areas. Move your head to different angles to check for thin spots.
Inspect for Final Touches
After the second coat dries, you need to inspect your cabinets. Look at the painted surfaces closely. Make sure the color looks the same everywhere. Check for drips, splatters, or uneven spots. Wipe away any paint that landed on hardware or nearby surfaces. You should also check that all switch plates, outlet covers, and hardware look clean and fit well.
Here is a simple checklist for your inspection:
- Look for a smooth, even finish on all surfaces.
- Make sure the color matches across every cabinet.
- Remove any paint drips or splatters.
- Confirm that hardware and covers are clean and in place.
The Step-by-Step Tutorial: How to Paint a Cabinet for a Professional Finish helps you remember these important steps. Careful inspection now means your cabinets will look professional and last longer.
Allow Proper Drying and Curing Time
Letting your cabinets dry and cure properly is just as important as painting them. If you rush this step, you might see smudges, fingerprints, or even peeling paint later. You want your hard work to last, so always give the paint enough time to set.
Recommended Drying and Curing Times
Different types of paint need different amounts of time to cure. Drying time means when the paint feels dry to the touch. Curing time means when the paint reaches its full strength and can handle daily use. Use this table to help you plan your project:
| Type of Paint | Drying Time | Curing Time |
|---|---|---|
| Oil-based paints | N/A | 7 days |
| Latex paints | N/A | 30 days |
Oil-based paints cure faster than latex paints. Even if the surface feels dry, you should wait for the full curing time before putting heavy items back or cleaning the cabinets.
Tips for Best Results
You can help your cabinets dry and cure well by paying attention to your environment. Here are some important factors:
- Temperature: Paint dries best when the room is not too cold or too hot. For oil-based paint, keep the temperature above 45°F (7°C). For latex paint, keep it above 50°F (10°C).
- Humidity: High humidity slows down drying. It can also cause the paint to look uneven or sticky. Try to paint on dry days or use a dehumidifier.
- Wood surfaces: Wood can soak up moisture from the air. This can make the paint peel or bubble. Make sure the room stays dry while your cabinets cure.
You can speed up drying by opening windows or using fans, but do not rush the process. The Step-by-Step Tutorial: How to Paint a Cabinet for a Professional Finish reminds you that patience leads to a stronger, longer-lasting finish. Wait until the paint is fully cured before reinstalling hardware or using the cabinets every day.
Tip: Avoid wiping or cleaning the painted surface until the curing time is complete. This helps prevent scratches and keeps your finish looking new.
Reinstall Hardware and Cabinet Doors
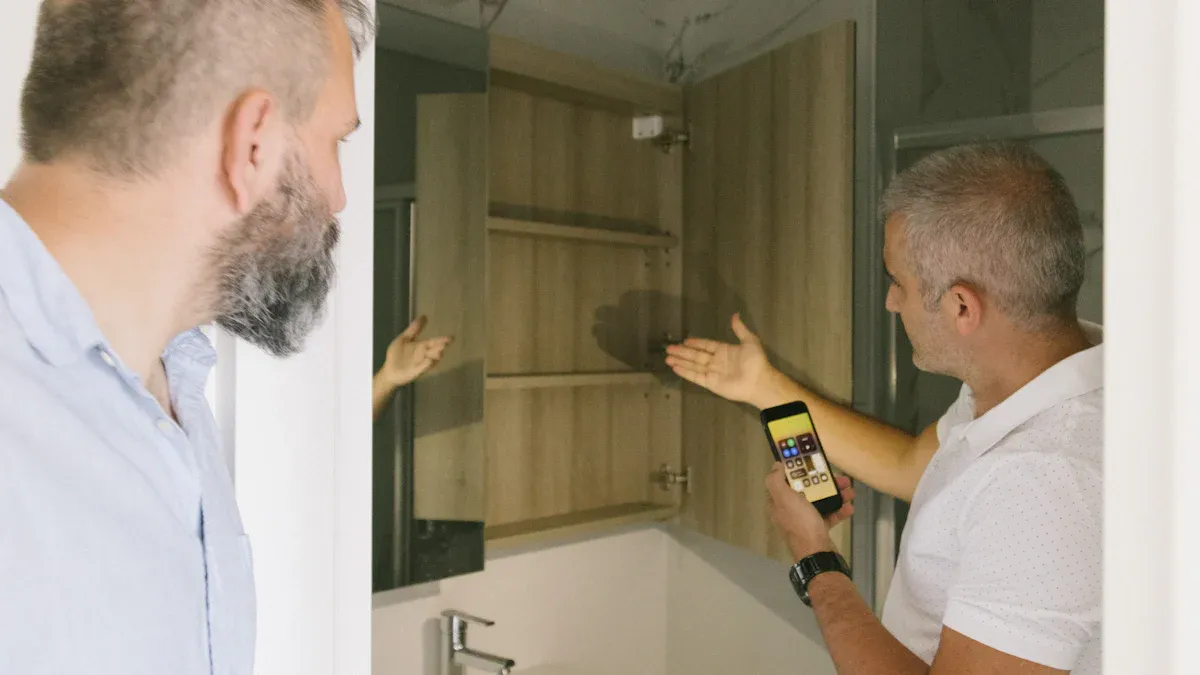
Reattach Hardware Carefully
You have finished painting and now want to put your cabinets back together. Take your time with this step to protect your new finish. You can use a few smart methods to avoid scratches or chips.
- Use a template or jig to line up your hardware. This tool helps you keep handles and knobs in the same spot on every door and drawer.
- Test the placement on one cabinet first. Make sure you like how it looks and works before you finish the rest.
- Pre-drill pilot holes for screws. This prevents the wood from cracking and keeps your paint job safe.
- Always double-check your measurements. Consistent spacing makes your cabinets look neat and professional.
- Pick a drill bit that is just a little bigger than the screw’s shank. This helps you avoid damaging the finish.
Tip: Keep a soft cloth under each door or drawer as you work. This protects the painted surface from scratches.
You can find more details about this process in the Step-by-Step Tutorial: How to Paint a Cabinet for a Professional Finish.
Align Doors and Drawers
Proper alignment makes your cabinets look polished and helps them work smoothly. Follow these steps to get the best results:
- Measure the overlay to make sure the doors and drawers line up with the cabinet frame.
- Mark the spots for hinges on the cabinet’s face-frame.
- Attach the doors to the mounting plates.
- Add cabinet door bumpers to prevent slamming and protect the finish.
- Adjust the doors in three ways: move them up and down, in and out, and left to right until they look even.
Note: Take your time with each adjustment. Small changes can make a big difference in how your cabinets look and feel.
When you reinstall hardware and align everything, your cabinets will look brand new and work well for years.
You can achieve a professional cabinet finish when you follow each step with care. Using quality materials and preparing surfaces properly makes a big difference in how your cabinets look and last.
- Professional finishes use special paints that resist moisture and scratches, while DIY jobs often chip or fade faster.
- Skipping cleaning or sanding causes most paint failures.
- Regular cleaning with a soft cloth, using cabinet liners, and protecting cabinets from heat and sunlight help your finish stay fresh.
With patience and attention to detail, your cabinets will look refreshed and expertly painted.
FAQ
How long should you wait before using your cabinets after painting?
You should wait at least 24 hours before light use. For full durability, wait 7 days for oil-based paint or 30 days for latex paint. This helps the paint cure and prevents damage.
Can you paint over laminate cabinets?
Yes, you can paint over laminate cabinets. You need to clean, sand, and use a high-bonding primer. This helps the paint stick and last longer.
What type of paint works best for cabinets?
You should use acrylic enamel or hybrid alkyd paint. These paints resist moisture and scratches. They also give a smooth, professional finish.
Do you need to sand between every coat of paint?
Yes, you should sand lightly between each coat. This removes dust and bumps. It helps the next coat stick better and look smoother.
How do you prevent brush marks on cabinets?
Use a high-quality brush or foam roller. Apply thin coats and paint with the wood grain. Keep a wet edge and work in good light for best results.